October 09, 2026


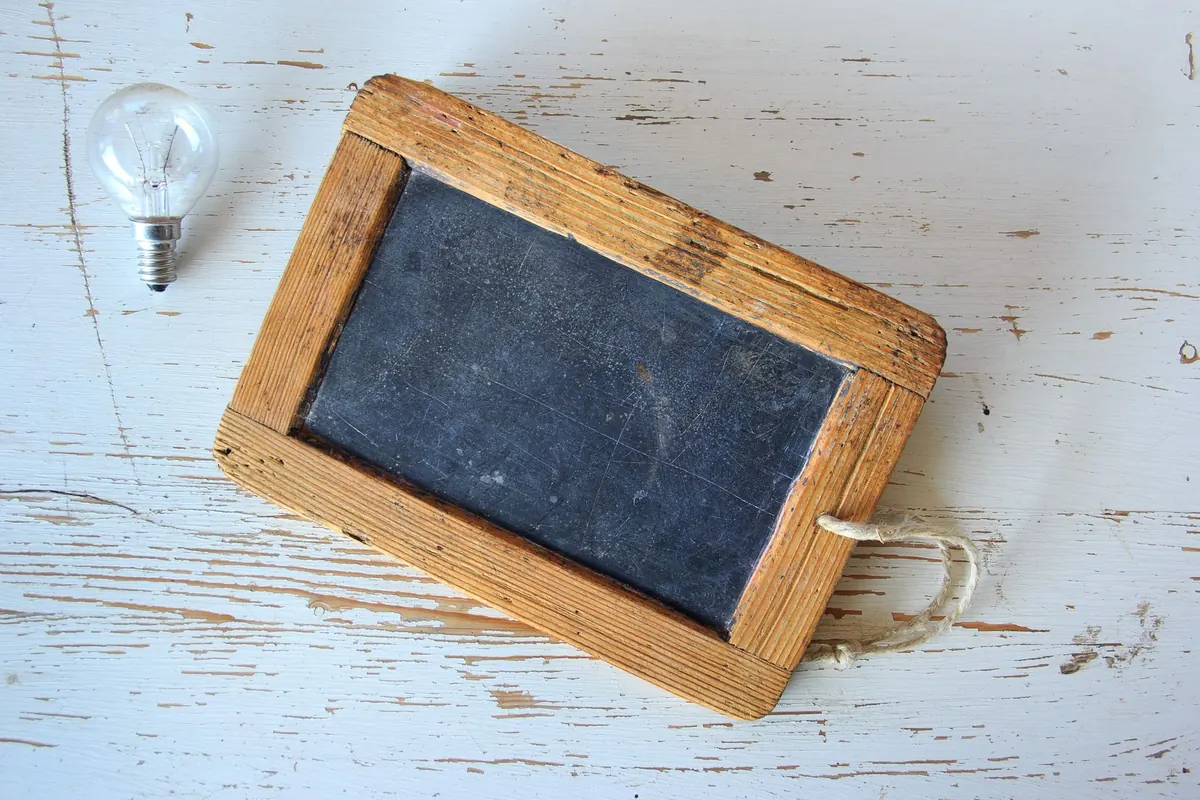
A lamp with a scratched base and a frayed flex rarely looks like a bargain on the shelf. Yet a cosy corner lives on low, warm light placed at the right height, and the lamp that delivers it is often the one nobody else wanted. Rewiring takes an afternoon. Painting takes an evening with the radio on. A new shade takes ten minutes and changes everything about how the light feels.
Weight is the first test. Pick the lamp up, set it down, push it gently with two fingers. If it slides or tips easily, put it back. A cosy corner needs a lamp that stays where you leave it, especially if there are children, cats or a narrow side table involved.
Look for honest materials: solid wood, brass, copper, glazed ceramic, stone, cast iron. These take paint, wax and polish well and they last. Skip anything with a deep crack, and run your thumb around the base and neck of ceramic lamps to check for hairlines you might have missed. Also check the thread where the lampholder screws into the base — a stripped thread means the hardware will never sit straight.
If the flex is stiff, perished or cracked, or the plug is a sealed vintage type you cannot open, assume you will rewire it. That's a small cost and a straightforward job. Two details are worth noting before you pay: whether the fitting is bayonet (BC) or Edison screw (ES), since your bulbs and shade rings must match, and whether the switch sits on the lampholder, inline on the flex, or on the base itself.
Mains electricity can kill, so treat this part as non-negotiable rather than boring. Work with the lamp unplugged, and never test a repair by switching it on while any part of it is still open.
If you are unsure at any point, or the lamp is a valuable or unusual piece, ask a qualified electrician or your local repair café to check your work before you use it.
A screwdriver that fits the terminals properly, wire strippers, a new switched lampholder, three-core flex (0.75mm² is plenty for a table lamp), a rewireable plug, a 3 amp fuse, and a small torch for peering into dark bases.
Preparation decides the finish. Wash the base in warm soapy water, degrease it, then sand with 240 grit followed by 400. Mask the lampholder, the switch and the flex with low-tack tape, and work in a ventilated space on a mild, dry day.
For metal, an etch primer helps paint grip. For glossy ceramic or plastic, a bonding primer is the safer bet. Then build colour in thin coats rather than one thick one, and let each coat dry properly. Spray paint gives the smoothest result; chalk paint brushed on gives a soft, matte, slightly chalky look that suits cottages and older rooms, and it needs a wax or lacquer to seal it. On wood, sanding back and applying Danish oil or a clear wax often beats painting altogether.
Brass is worth leaving alone. A gentle rub with fine wire wool removes grime without erasing decades of character, and the small dents and scratches catch the light rather than spoiling it.
Shade size is where most upcycles go wrong. As a rough guide, the shade's diameter should be around two-thirds of the lamp's overall height, and its bottom edge should sit near eye level when you are seated, so you see the glow rather than the bulb. Lined shades — gold, copper or pale cream inside — bounce warm light downwards and upwards and are forgiving of imperfect paintwork.
Fabric shades in linen, cotton or slubby wool diffuse light softly. Metal shades push it down in a tighter pool, which is lovely over a reading chair and less good as background light. Cream, oatmeal and terracotta warm a room; a dark outer shade with a gold lining adds drama without glare.
Then the bulb, which matters as much as the shade. Look for warm white, around 2700K, or extra warm at 2200K for a deep evening glow; roughly 400–600 lumens is plenty for a corner lamp. If you want to dim it, check the bulb is dimmable and that your dimmer or inline switch is compatible.
Place the lamp beside and slightly behind your shoulder for reading, so the light falls on the page and not in your eyes. A low lamp near the floor, a mid-height table lamp and one brighter task light give you layers to control through the evening, and layering is what makes a corner feel warm rather than merely lit. Tuck the flex behind furniture or run it along a cable clip, and if the socket is awkward, a simple mechanical timer plug saves you crawling behind the sofa.
Pick the plainest, most solid base you can find, rewire it properly, paint it in a colour you already love, and give it a shade that suits the corner it will sit in. Keep the old parts in a bag until the new ones have been tested, take a before photo, and don't collect six half-finished lamps before the first one is glowing. One good lamp, warm and safely wired, will do more for a dark corner than any amount of shopping.
Photo: Pixabay / Pexels
Small ideas for cozy corners and compact homes.
Copyright © 2026 Nook Bit. All rights reserved. Nook Bit.